!!!Voor het Nederlandse patroon klik je hier!!!
Hi and welcome to the Een Mooi Gebaar Spiral! This website is entirely in Dutch, so please bare with me for this first English pattern.
>> Buy this pattern as an ad-free-PDF document here <<
On this page you will find all information you need to make and modify this pattern. You can sell the result, but please mention my name. I would love to see some photos of your work via Facebook or Instagram (@eenmooigebaar or #eenmooigebaar), so we can inspire each other. You can share the link, but please only share the photos after written permisssion.
Materials for the Spiral
The example was made with 16 colours Yarn and colors Must-Have. This is a 100% cotton fiber with 125 meters per 50 gram balls. Any similar yarn will do.
Golden Glow (011)
Sunflower (014)
Papaya (017)
Sunset (021)
Pepper (032)
Cardinal (031)
Red Wine (030)
Purple Bordeaux (050)
Lilac (055)
Grape (054)
Amethyst (058)
Sapphire (068)
Blue Lake (066)
Green Ice (075)
Opaline Glass (074)
Grass (082)
You only use about 5 grams per colour, so it’s a good project for using up scraps.
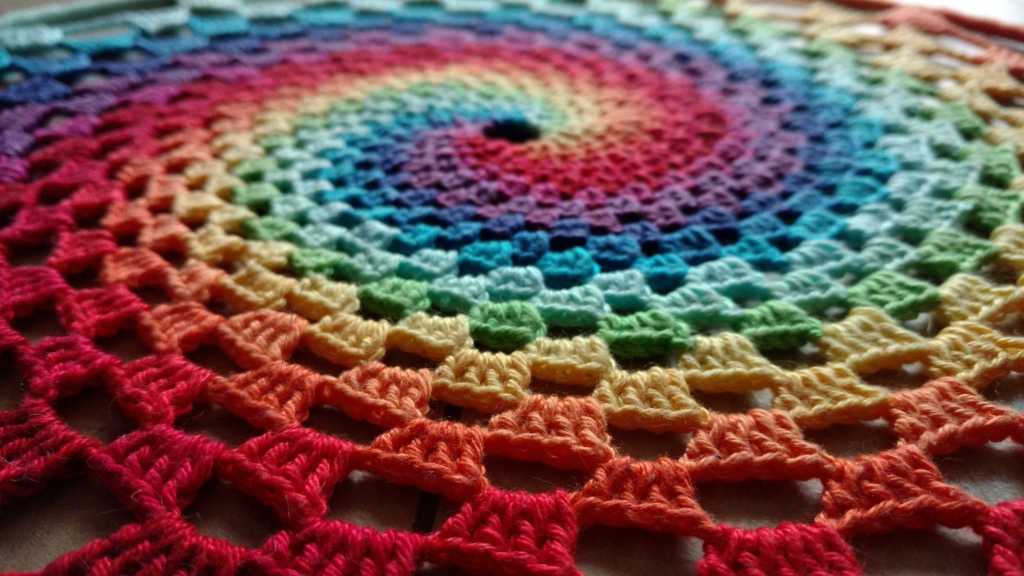
You will also need a 2 and 2.5 mm crochet hook.
The ring has a diameter of 40 centimeters.
You will need as many stitchmarkers as colours in this pattern.
Notes
This pattern has been tested, but if you find that it starts to become wavy, please decrease the amount of stitches in the row. If it starts to resemble a bowl, please increase the amount of stitches in the row.
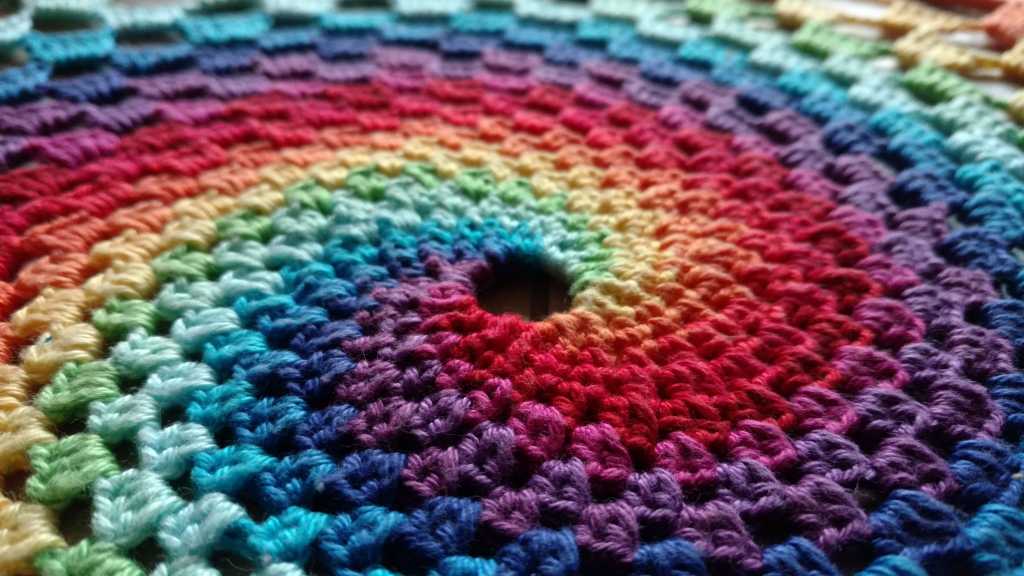
When you are crocheting (with the same or other material), you can look at the stitches and see which way they “bend”. If they bend too much to the right, you’re crocheting too tight, or with not enough stitches in your row. They should be at a straight angle or bending a bid “forward” or to the left. In the picture below, the first three purple groups are okay, but the last green and yellow and orange groups aren’t.
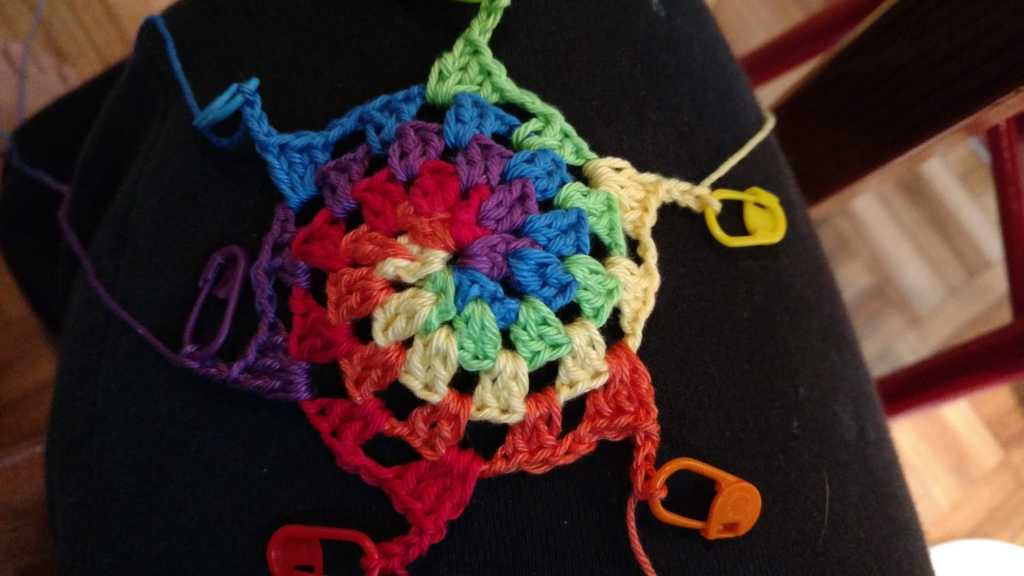
There are two ways to increase the stitches: you can crochet higher stitches (so double crochet in stead of single crochet, triple in stead of double) or móre stitches (so 5 stitches in a cluster in stead of 4). Make sure to increase the chain spaces too, else the next cluster won’t fit properly.
Yarn barf
In order to avoid your yarn getting into huge knots, you have to work systematically. You might be able to device your own system for doing so. I had 8 balls of yarn on one side of me, and 8 on the other, and I was seated in the middle with the circle on my lap. The balls are in the “correct” order around me. I moved the first ball on the right to the left, and the last ball on the left to the bottom right. It’s slow going, but it is better than removing knots all the time.
Pattern
Round 1
Start with a random colour. Magic ring, chain 1, 2 sc, chain 1. Place stitchmarker in the loop. Then you do: (standing-sc, sc, ch, stitchmarker) for every colour, in the correct order, into the magic ring, until you’ve run out of colours. Close the magic ring. Sow away the ends, in order not to get confused in the next rounds.
Round 2
(sc between 2 sc from the next colour, ch 1, place stitchmarker) in random color, and then in all the other colours in the correct order. It might come in handy to always start with the same colour. If you put your work down, you will remember where you are that way.
Round 3
(sc in ch-space, ch 1, stitchmarker in loop) in random colour and all subsequent colours.
Round 4
Repeat round 3.
Round 5
(Hdc in ch-sp, ch 1, stitchmarker in loop) in random colour and all subsequent colours.
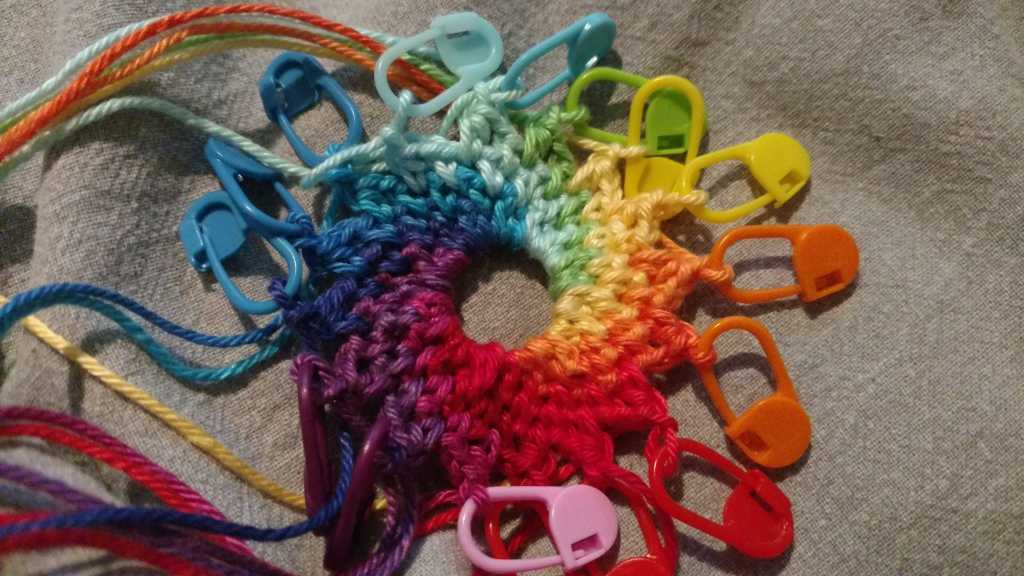
Round 6
(2 hdc in ch-1 sp, ch-1, stitchmarker in loop) in random colour and all subsequent colours.
Round 7
Repeat round 6.
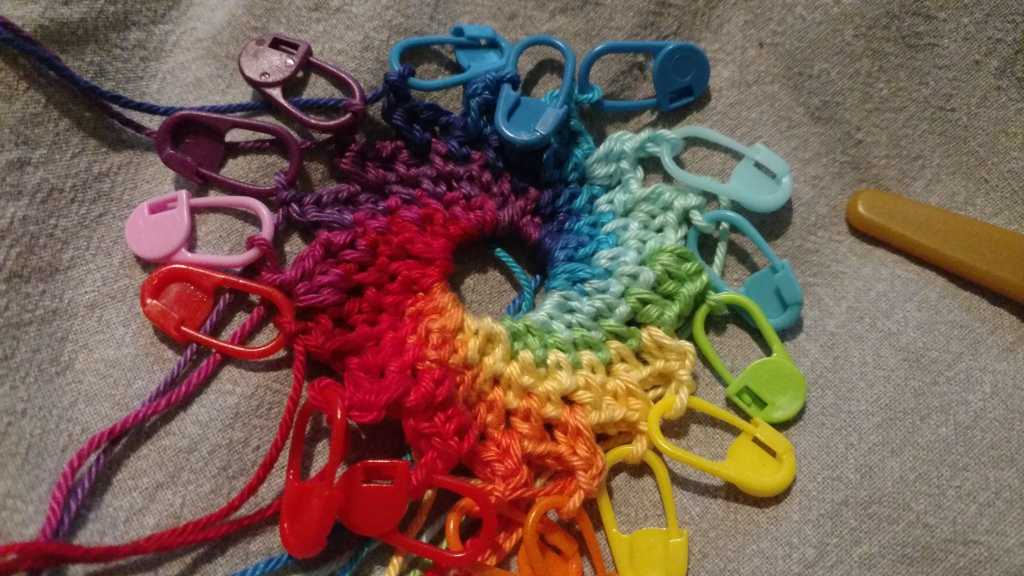
Round 8
Repeat round 6
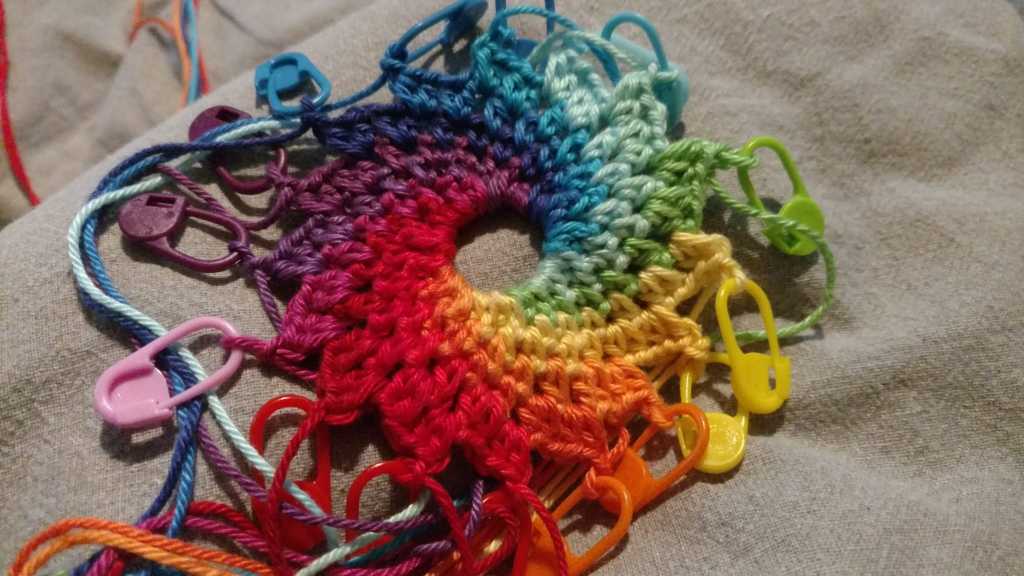
Round 9
Repeat round 6
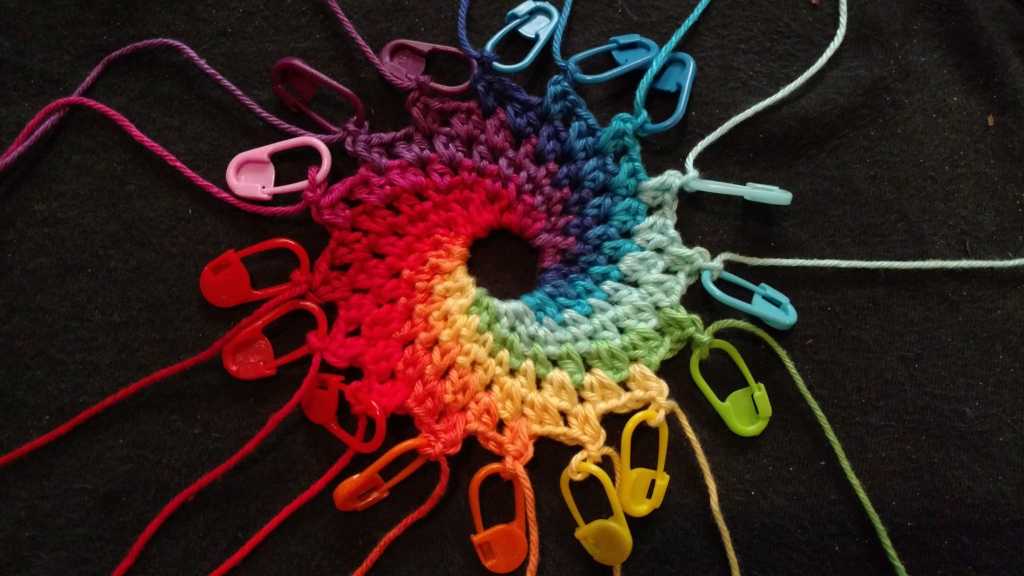
The remainder of the pattern works in a similar fashion. Keep checking if you’re increasing enough.
Round 10
Repeat round 6
Round 11
(2 hdc, ch-2)
Round 12
Repeat round 11.
Round 13-15
(3 hdc, ch-2)
Round 16
(3 hdc, ch-3)
Round 17-20
(4 hdc, ch-3)
Round 21
(4 dc, ch-3)
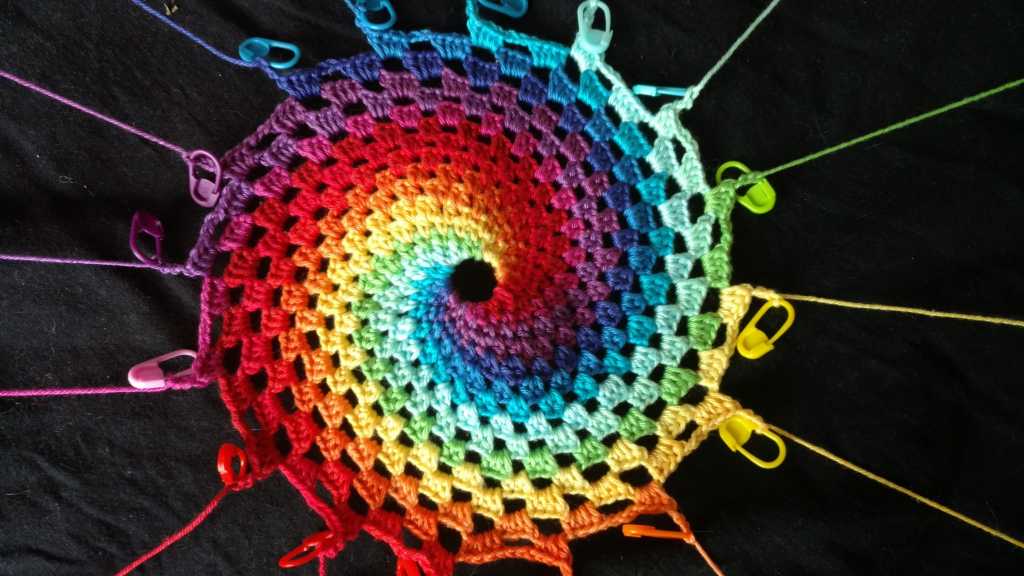
Round 22-26
Repeat round 21
Round 27
(4 dc, ch-4)
Round 28
(5 dc, ch-4)
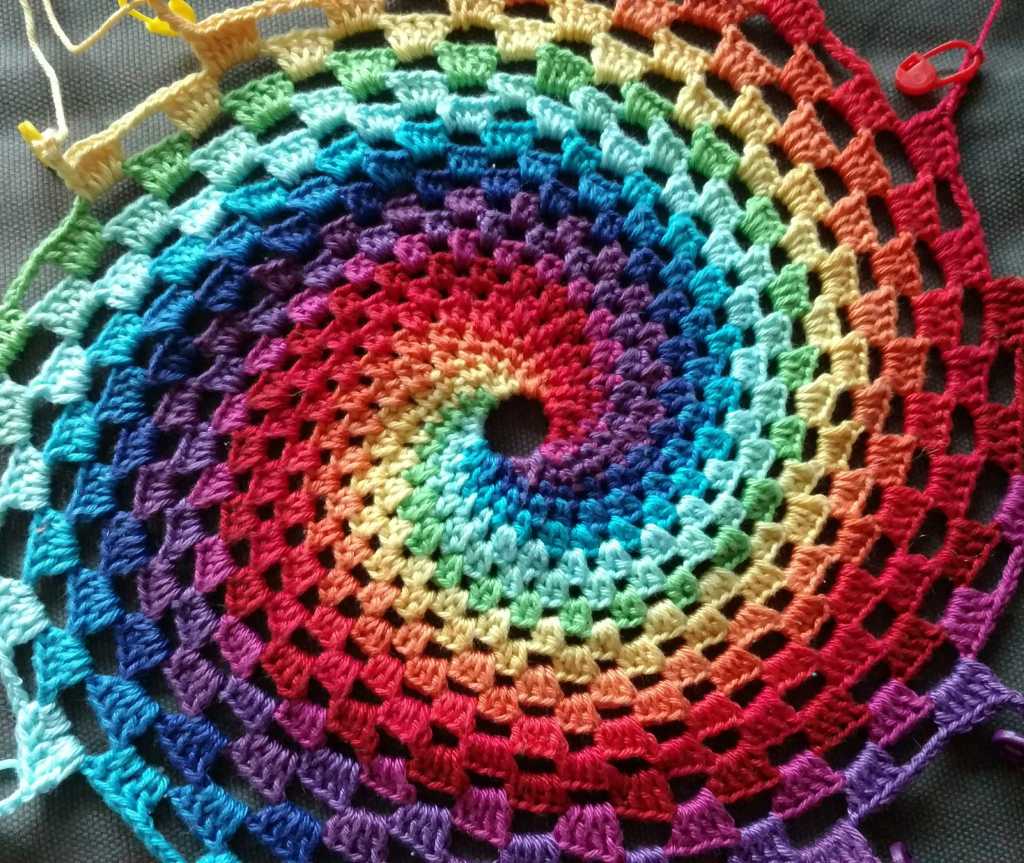
Round 29-32
(5 tr, ch-5)
Round 33
6 dtr in each ch-space, no chains, stitchmarkers in last dtr.
Note: the picture shows 2 sets of dtr in each colour, which didn’t work out for me and the size ring. There should still be a lot of space between your last round and the ring, in order to make it sit tight in the ring.
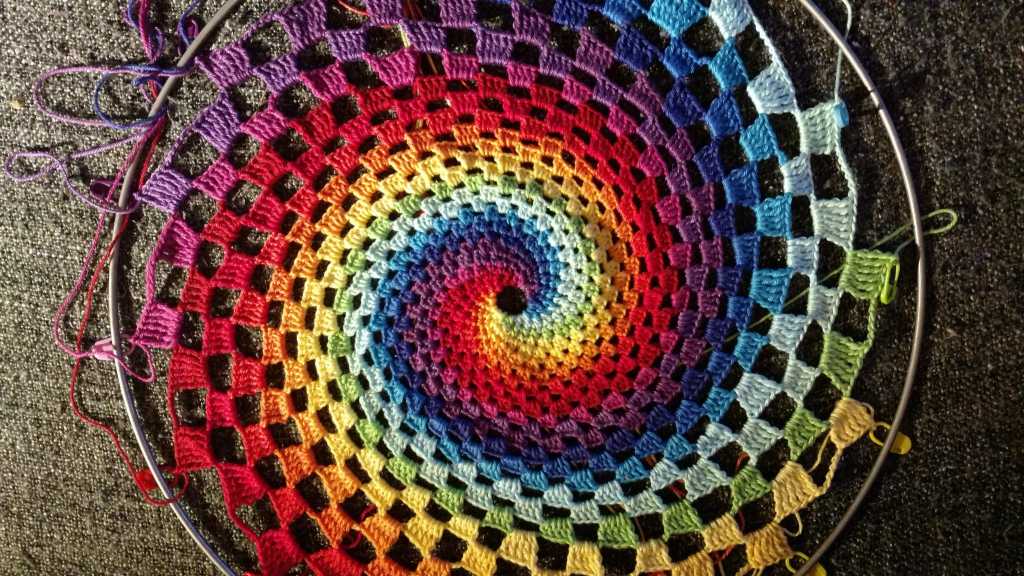
Round 34
You’ll attach the spiral to the ring in this round. It’s a bit of a guess how many stitches you need for each colour, so I took it in increments of 5 sc per colour per time. Change your hooksize to one size bigger. *Insert hoop in loop. Slipstich in the ring, 5 sc, remove stitchmarker, repeat for each colour.
Note: make sure the welding spot falls in between two colours, else you can’t move the stitches around anymore.
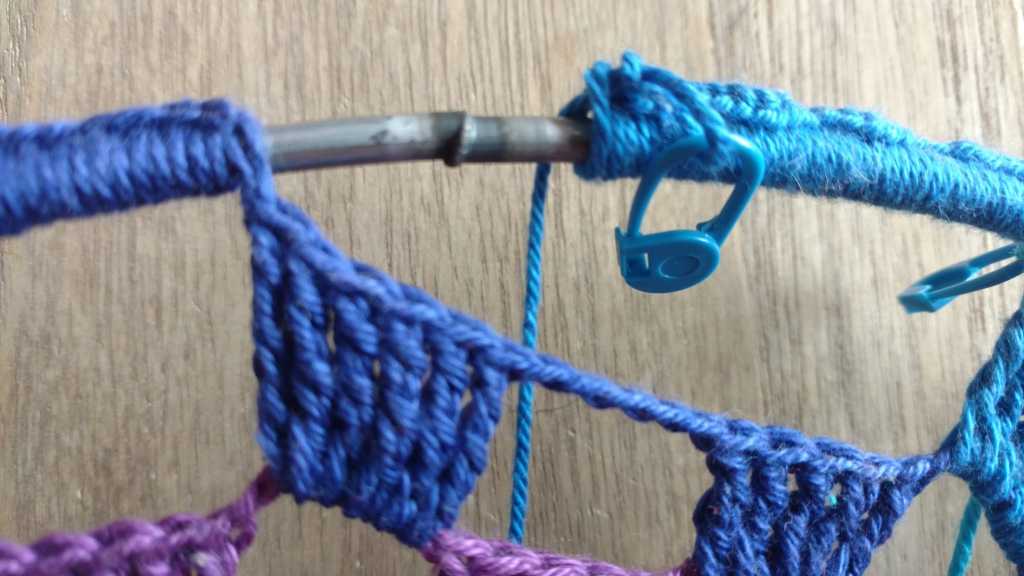
I needed 30 sc for each colour. Make sure the entire ring is covered, with the same amount of stitches for each colour.
When the ring is covert completely, you can cut the yarn, pull the yarn through, put it through a needle, stick the needle under both loops of the first sc of the next colour, pull through.
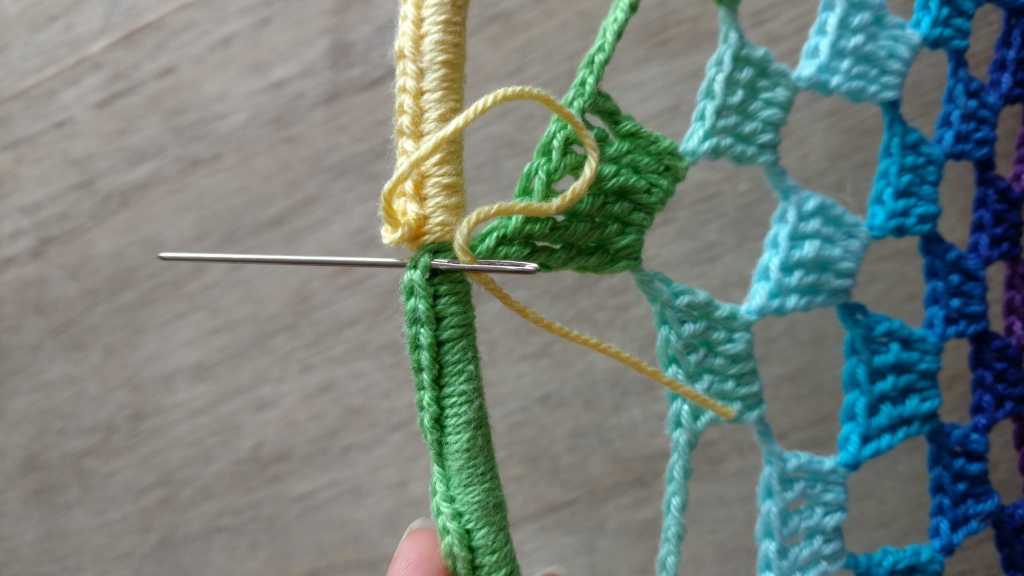
Push the needle through the middle of the last stitch of the colour you’re working with. Pull tight. Work away thread.
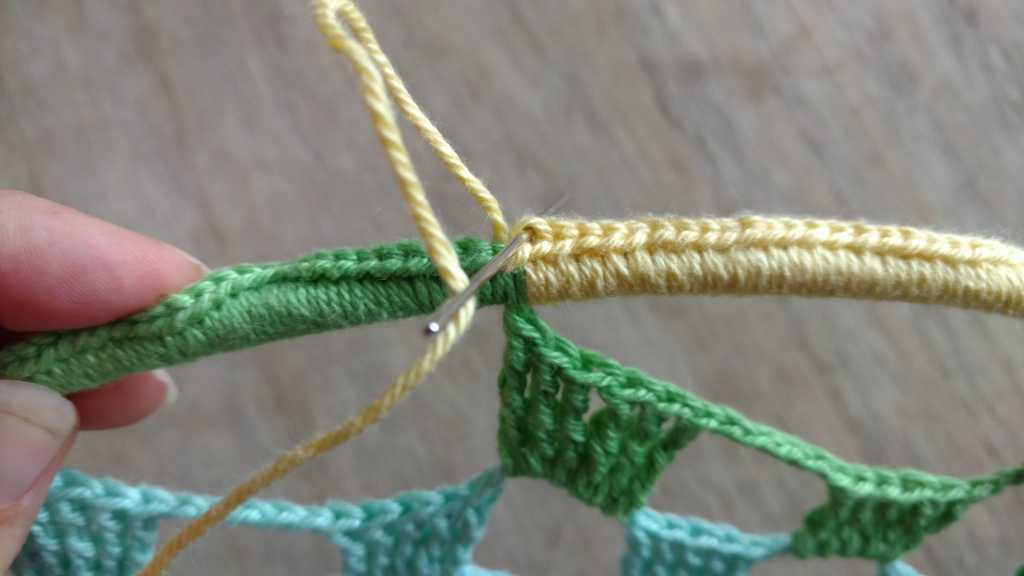
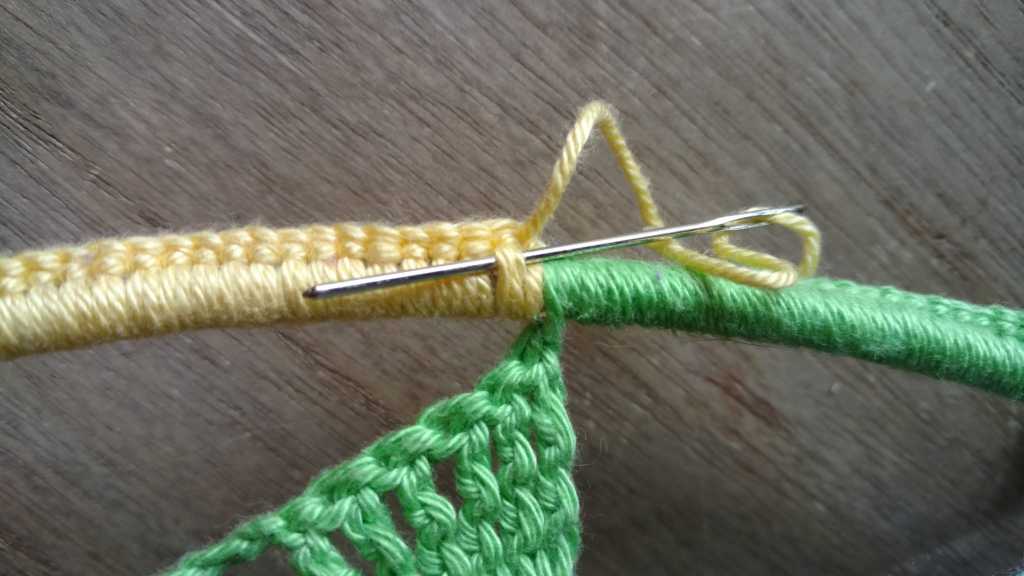
Finished! Ta-dah!
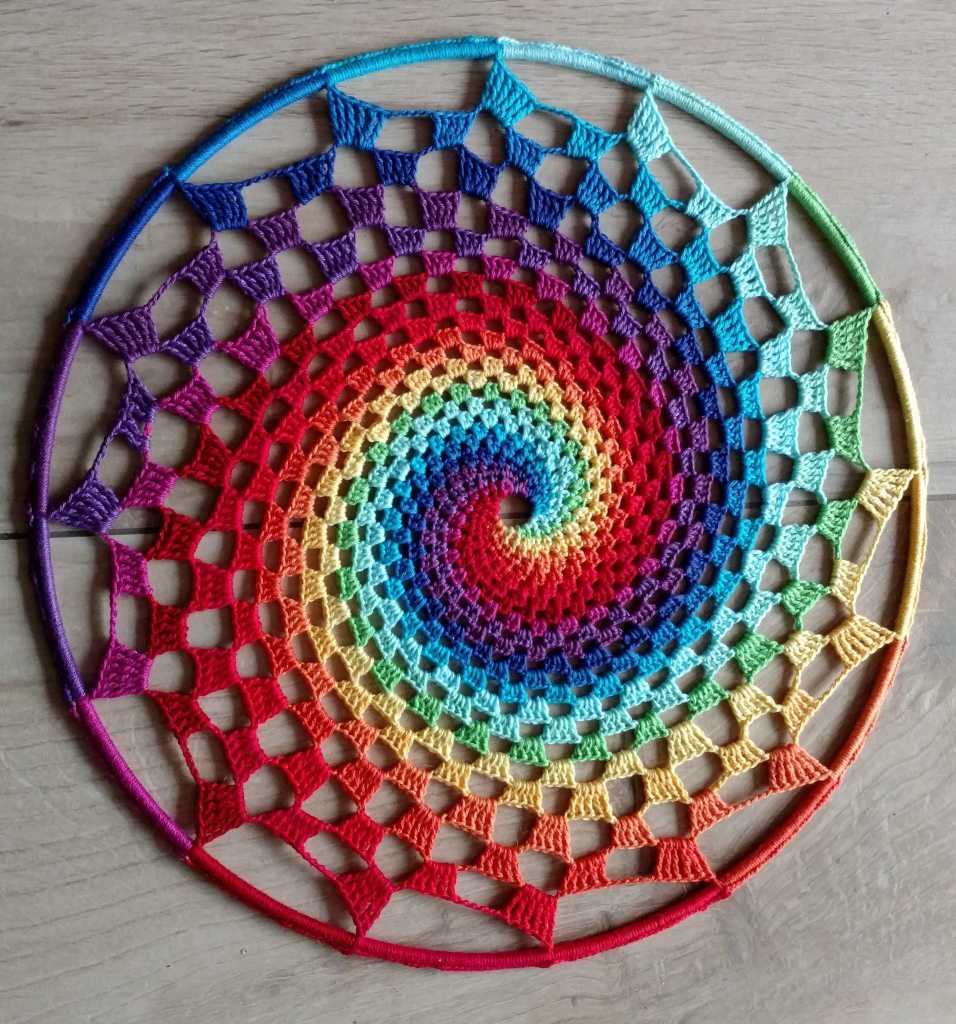

Follow me on Instagram and tag me with @eenmooigebaar so we can all appreciate your work!
Creatieve, enthousiaste en lieve Iris van Meer is het gezicht achter Een Mooi Gebaar en vertaalt, ontwerpt en deelt meer dan duizend haakpatronen met jullie op dit stukje internet.
Mijn verhaal, over hoe ik van onhandige knutselaar toch nog creatieve ondernemer ben geworden, lees je hier: Mijn Verhaal
Als je contact met Iris wil opnemen, ga je naar de contactpagina
